So, you’ve made your guest list, and it’s time to figure out where these guests are going to sit. Like everything else in wedding planning, this can get tricky if you’re not prepared. I’ve created this guide to the terms that you’ll see floating around, and you’ll also find exactly what you need to know based on your seating plan!

Photo by Rachael Koscica
terms
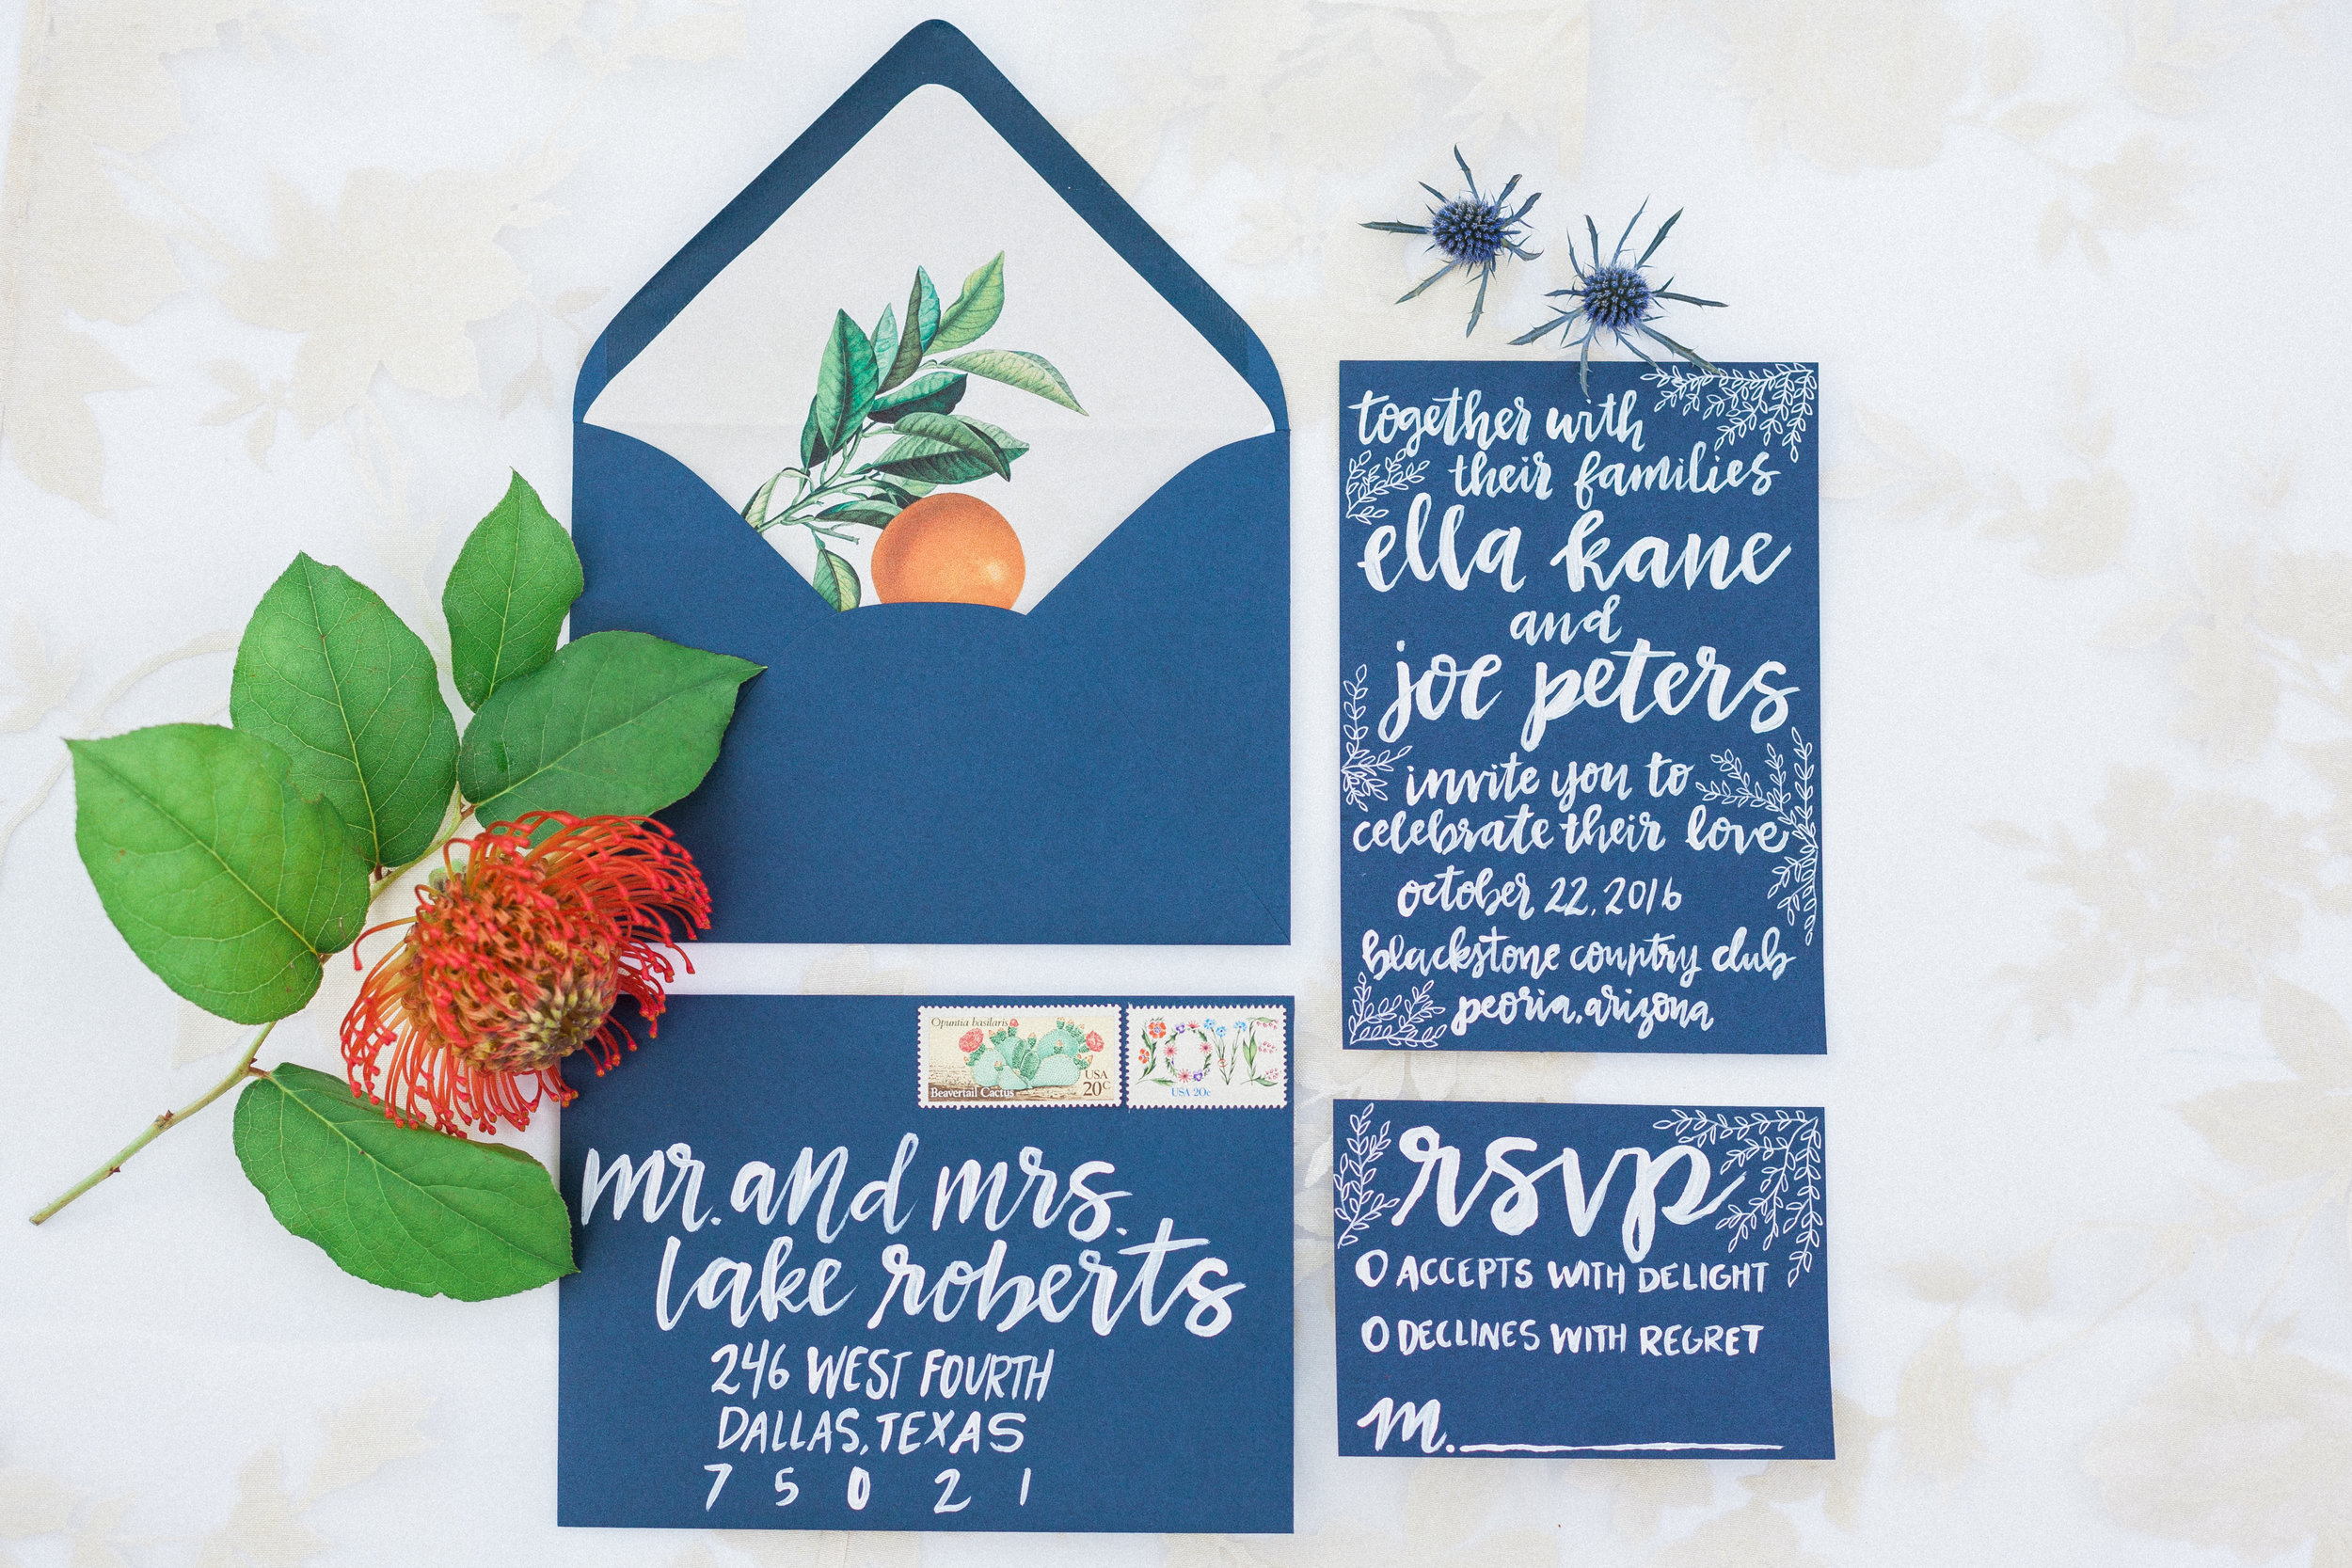
ESCORT CARD
Escort cards "escort” your guests to their seats. They include each guest’s name, table assignment, and sometimes, a meal indicator (more on those below!). A guest will pick this card up off of a table (or pull it off of a board, pluck it from your decorative tree, etc.), then carry it to the assigned table, usually to place it at the seat of his or her choice.
PLACE CARD
Place cards indicate a guest’s "place” at the table. They include the guest’s name and sometimes a meal indicator, but not a table number (because it’s already at the table!). Your guest looks for his or her place card and sits in that assigned chair.
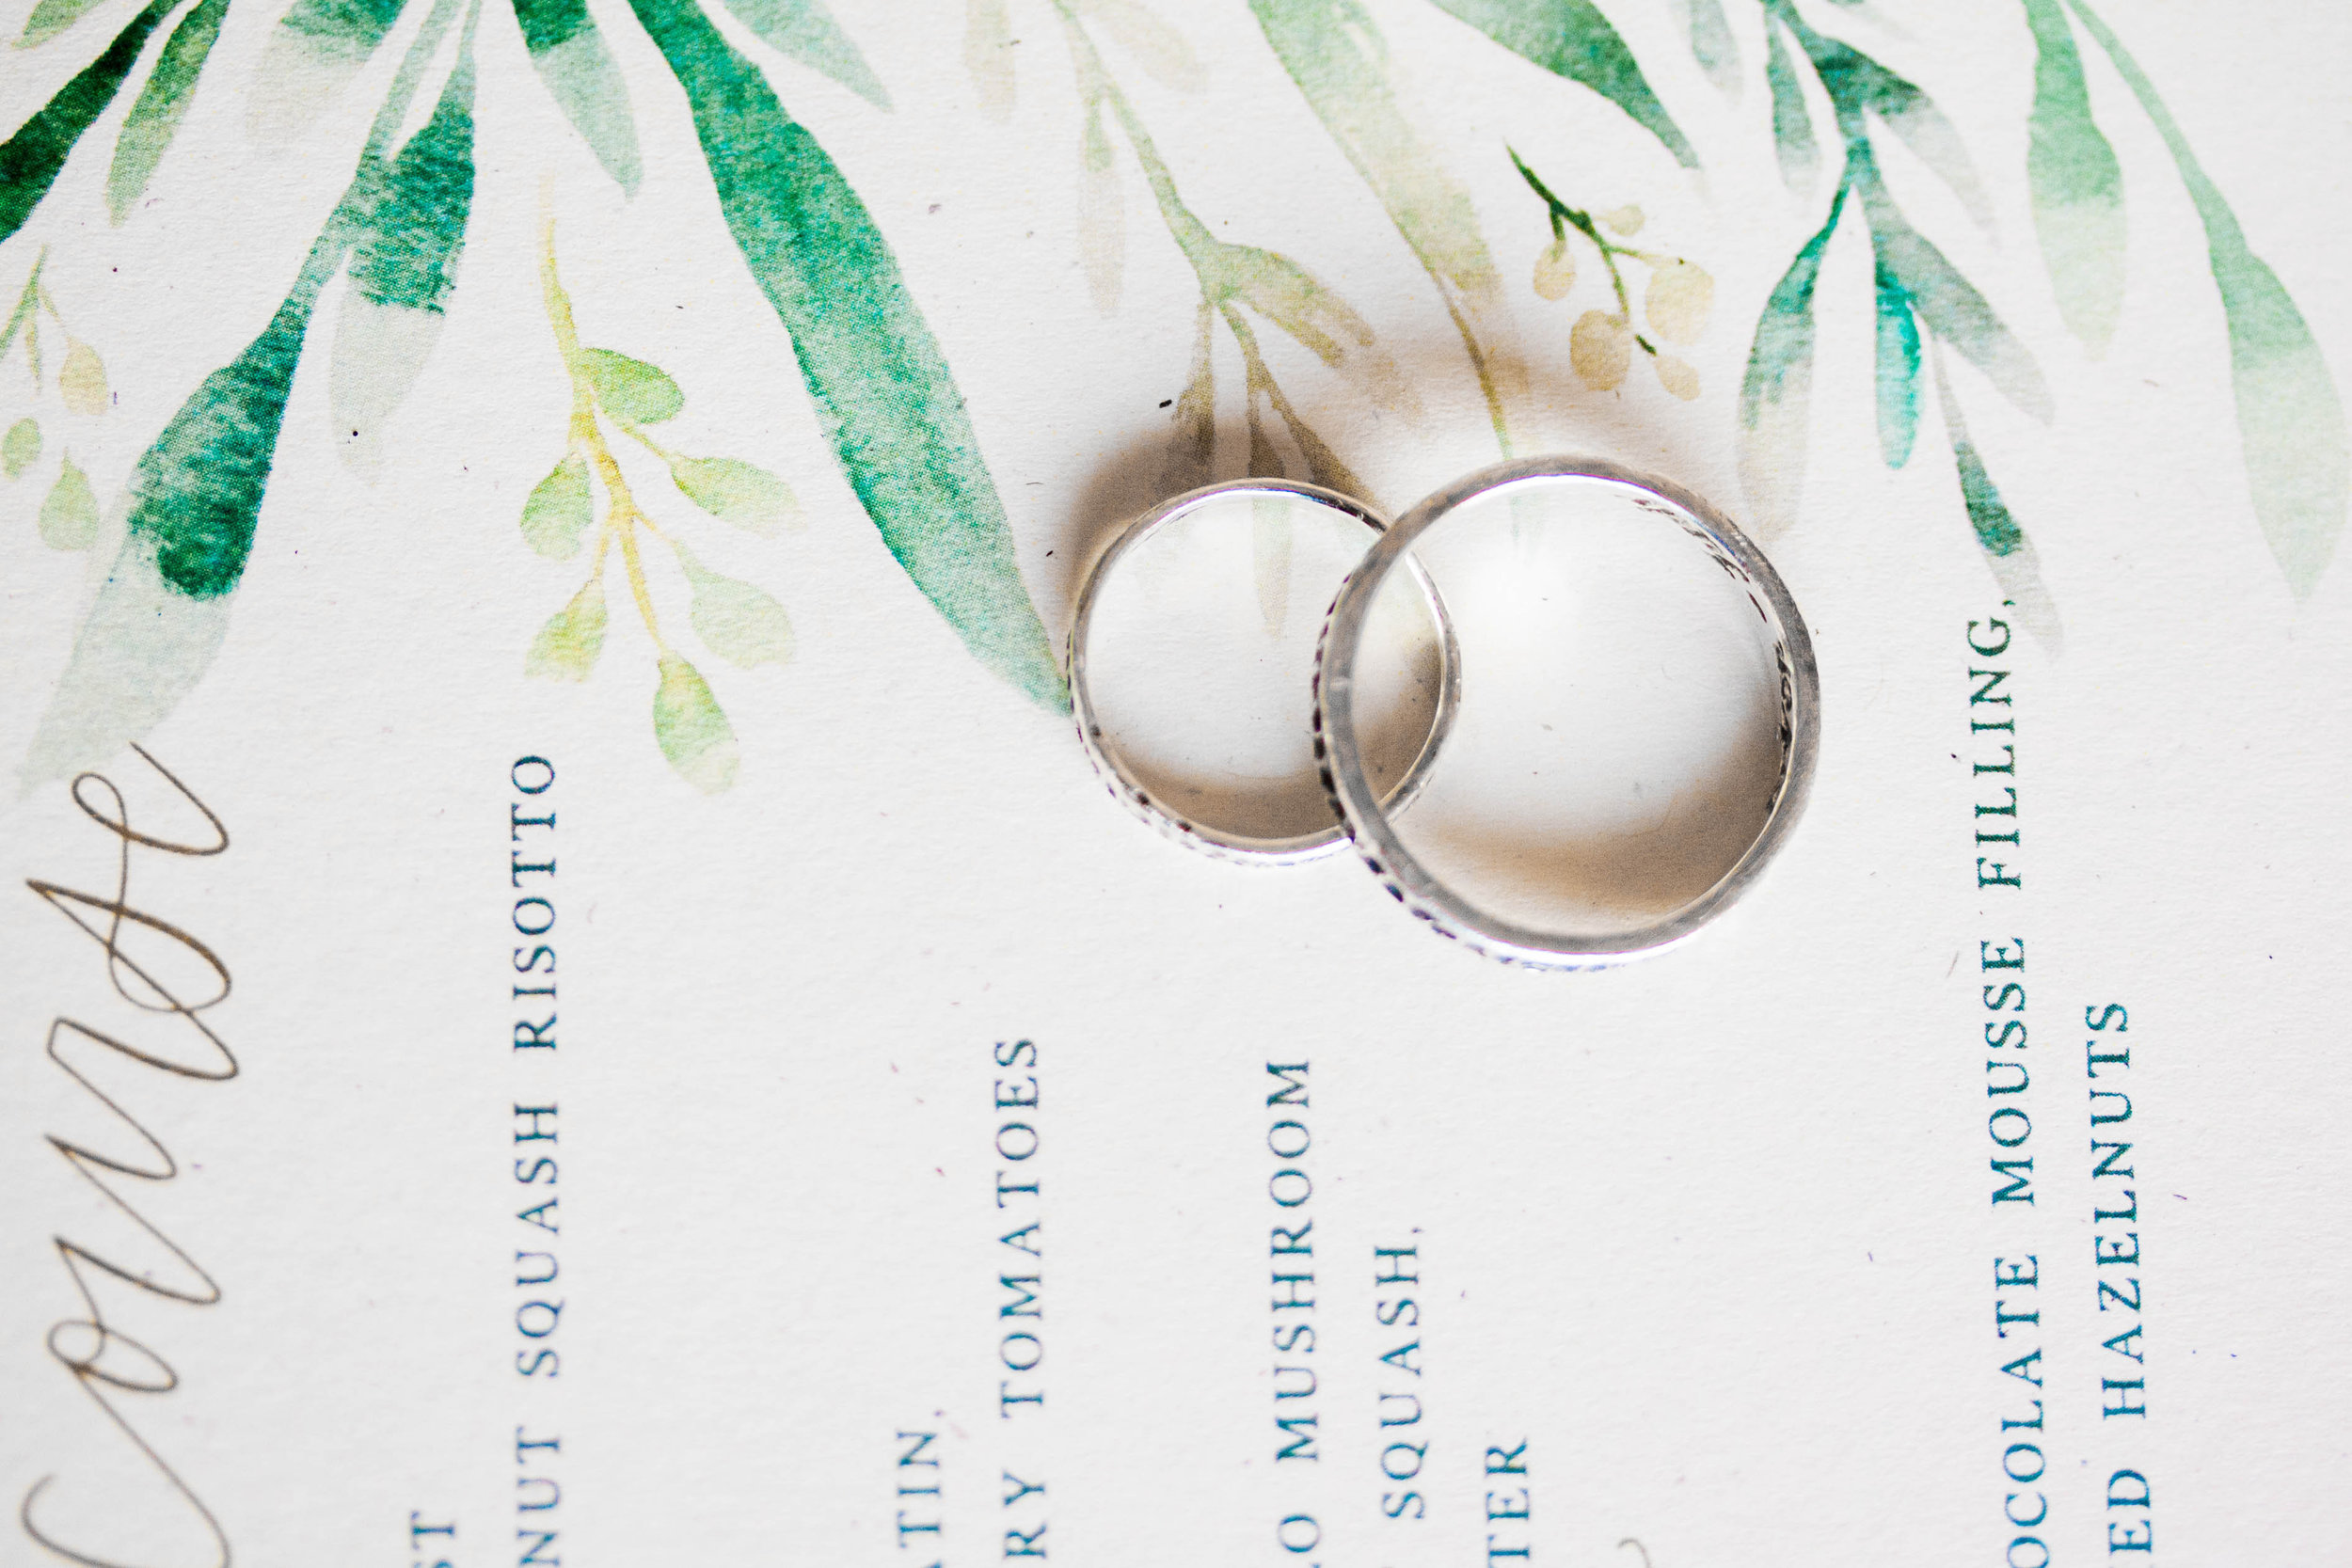
MEAL INDICATOR
If your guests were asked to choose an entree in advance (typically via your RSVP card), you need to record their choices and somehow get that information to your serving staff. If you don’t, the venue’s catering staff will be walking around asking each guest what he or she requested. This is a problem, because who wants that?, but also because your guests usually have NO IDEA what they checked on their RSVP card two months ago.
To avoid this, we indicate each guest’s meal choice on his or her escort or place card. This can be a small icon to indicate protein choice (fish icon for salmon entree, cow icon for steak entree, etc.), a set of decorative swirls that coordinate with meal choice, or even differently colored cards. The most important thing is to communicate whatever method you decide on to your catering staff, so they know that blue = chicken, pink = vegetarian, yadda yadda yadda.

Photo by Elyse Hall
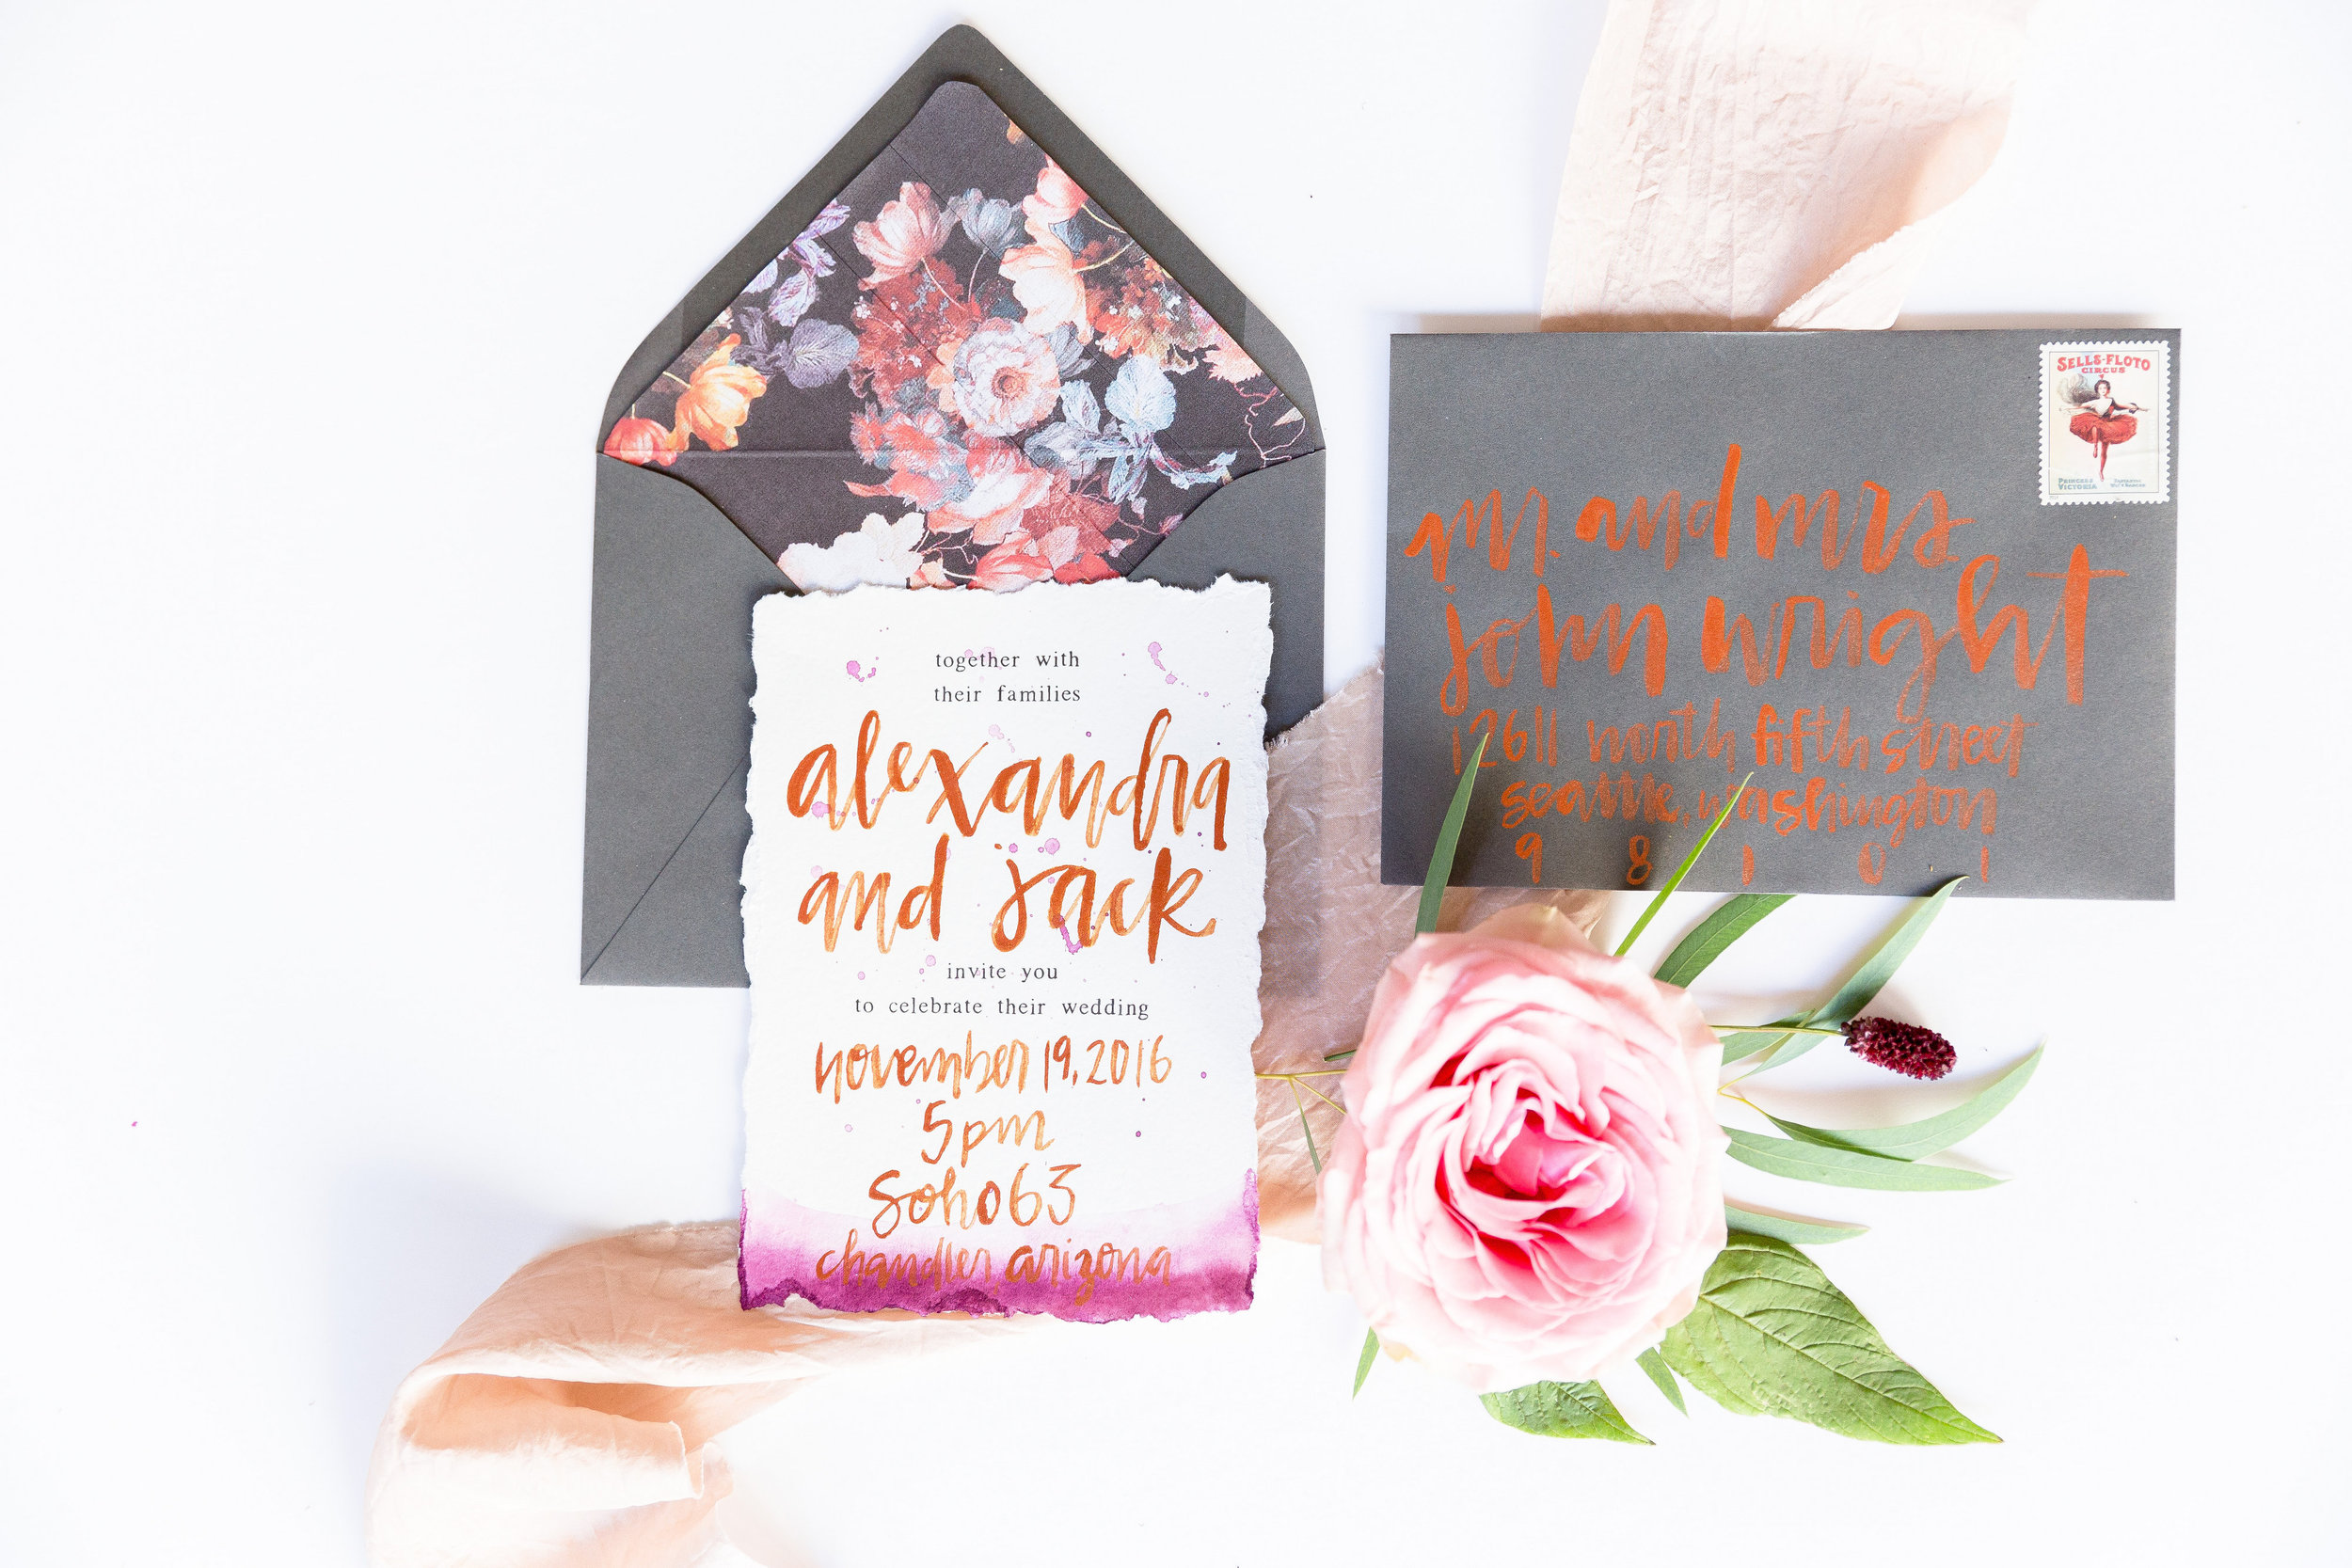
SEATING CHART
Seating charts list your guests and their table assignments. Typically, these are organized alphabetically, by guests’ last names. A lot of couples prefer the look of grouping guests by table instead, but if you’re having a large wedding, alphabetically is best. This allows your guests to find their names quickly and easily and be on their way! These can be done on paper, mirrors, acrylic, wood, ETC.
ESCORT DISPLAY
“Escort displays” is the category in which escort cards, seating charts, etc. fall. It is whatever is used to display where guests need to go!
Now, which do you need? Find your scenario below!

Photo by Andrew Jade Photography
what you need
Find the scenario that fits for your wedding day!
SCENARIO 1: NO SEATING OR TABLE ASSIGNMENTS
Going for a free-for-all with seating? Well, you’re brave. And, lucky for you, you don’t need any of these!
SCENARIO 2: TABLE ASSIGNMENTS, BUT GUESTS WILL PICK THEIR SEATS AT THE TABLE, AND THEY HAVE CHOSEN A MEAL IN ADVANCE
You need to do escort cards with guests’ names, table assignments, and meal indicators. Guests will pick this up and carry it to their seat of choice, and serving staff will rely on their meal indicators when bringing out entrees.

Photo by Daniel Kim
SCENARIO 3: TABLE ASSIGNMENTS, BUT GUESTS PICK THEIR SEATS AT THE TABLE, AND WE DID NOT OFFER MEAL CHOICES
You can do escort cards with guests’ names and table assignments, so they can pick them up and carry them to their seats of choice, OR you can simply do a seating chart. Seating charts are typically alphabetized by last name, allowing guests to quickly find themselves and their tables.
SCENARIO 4: TABLE AND SEAT ASSIGNMENTS, AND GUESTS HAVE CHOSEN A MEAL IN ADVANCE
You will need to do a seating chart + place card combo to cover this. Your seating chart will allow guests to find their names and table assignments quickly (as it will likely be alphabetized by guests’ last names). Once your guest has found his table, he will then find his place card, with his name and meal indicator on it!
SCENARIO 5: TABLE AND SEAT ASSIGNMENTS, AND AND WE DID NOT OFFER MEAL CHOICES
You will need to do a seating chart + place card combo to cover this. Your seating chart will allow guests to find their names and table assignments quickly (as it will likely be alphabetized by guests’ last names). Once your guest has found his table, he will then find his place card with his name on it.

Photo by Leslie D Photography
Of course, this is a simple breakdown of something for which the options are ENDLESS. We can also do menus with names lettered at the top (serving as place cards!), and color-coordinate menu paper color to meal designation! We can use potted plants with small name flags as place cards! We can laser cut guests’ names out of acrylic and place this on their plate! We can hire humans to physically escort guests to their chairs! Honestly, the best route is to explain to your stationer-calligrapher which scenario you are going with, and let them dream up something special!
Happy assigning!